
home moa vmx vmdk links about donate forum downloads
the ESX-tools projectProject description:
Optional addon to the MOA-LiveCD. |
Need access to forum ? |
Discussion
and help - Overview of
the downloads
|
|
|
MOA architecture and the different Operation modes before you try any Customization. VMware Workstation 5.5.8
up to 6.5.0 and esx-tools.exe
- addon enables .NET 2 Framework, ViClient and related apps including
RemoteCLI. Yes - thats right. As with all powerful tools you need to learn how to use them. Here is something like a suggested learning path
- as so often the first steps are the most important. |
|
Suggested learning path
FORGET THIS : Forget everything you ever heard about remastering LiveCDs DO THIS : Create a "moa24-bandit.iso" with the moa24-setup-tool. BUY THIS : buy a 2.5 inch USB-disk - format it with NTFS and put the a file "moa-is-at-home.tag" on it USE THIS : boot your "moa24-bandit.iso" and plug in the USB-disk you bought at boot
1. Install a Workstation and learn how to automate loading it 3. Install some apps of your choice - understand what works and what does not work 4. Customize your desktop and start-menu 5. Install some tricky apps of your choice - learn how to handle install-rite 6. Understand the caveats when using
local VMs
1. learn how to pack CD-only builds effectively 2. learn how to create VMs so that they can be used from CD / DVD 3. learn how to use local disks with VMs in a safe way 4. learn how to automate tasks - work with moa-to-c.exe 5. do what ever you want |
|
Some real hardcore examples ...
You are sitting in front of a running Windows-box. |
|
Guide
through the building procedure |
|
Some
typical usage scenarios ... |
|
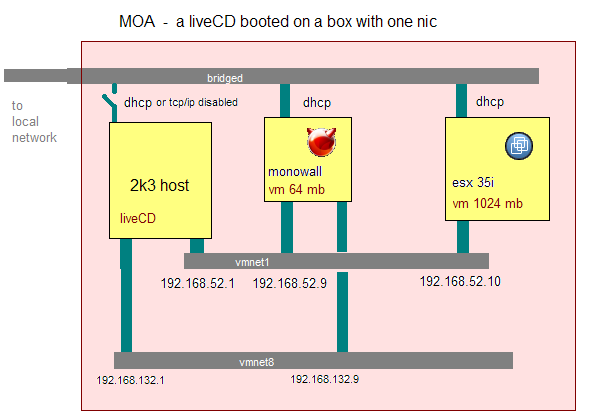
MOA
architecture
MOA-setup does not help you with adding your apps and VMs.
|
|
Operation
modes:
|
|
Customization
...
|
|
Downloads
:
|
|
How to prepare VMs so that they can be used from
CD / DVD
Before we go into the details we need to understand the problems. Last aspect looks like a killer condition. |
|
How to prepare a ESXi VM so that it can be used
from CD
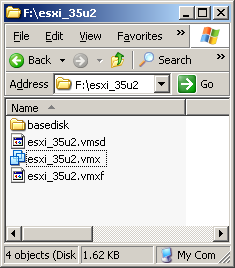
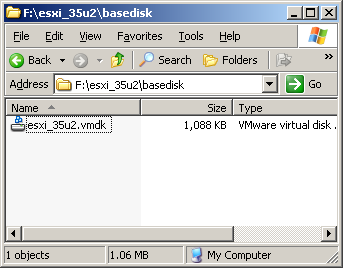
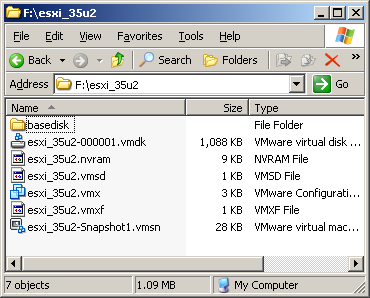
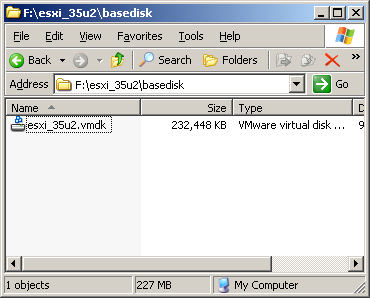
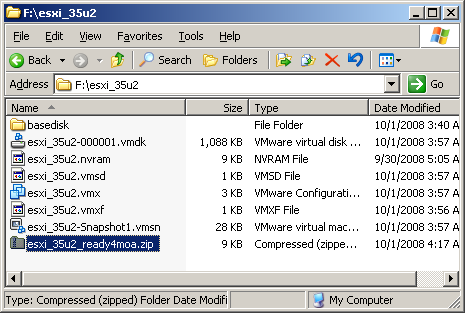
Base installation:
scsi0:0.fileName = "basedisk\esxi_35u2.vmdk"
|
|
How to use local disks with your portable VMs in a safe way
Your portable VMs that you may have on USB or CD/DVD can access local
physical disks.
|
|
Automation of MOA-tasks
Have a look at the "create ESX-bandit-wizard" - it automates
a boot and starts a complex action when boot is finished.
|
|
How to use Converter
MOA supports Converter right out of the box. This means you can have
Converter just somewhere -
|
|
how to add Workstation to MOA 2.4
warning - Workstation 6.5 must be regarded as
experimental Basically it boils down to: install
once - keep the files
How
do I wrap it into a wim-archive ? How do I enable loading of Workstation ?
|
|
Can I create this directory
from a local installation I already have ? Ok - lets assume you already have VMware Workstation 6.5.0 (or any
other version) installed somewhere.
Finally go to the directory C:\ws650 and copy |
|
Can I use MOA - install Workstation
on the fly and grab the files ? here is a video
made for Workstation 6.0.4 for example |
|
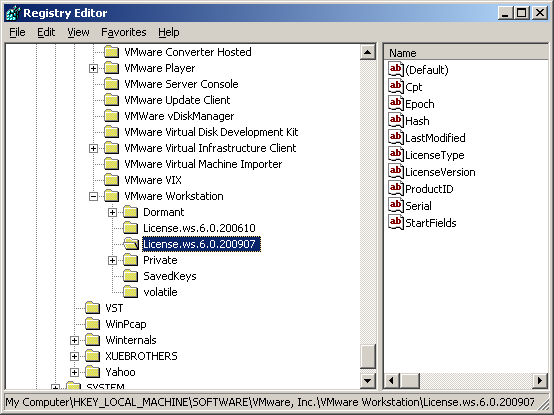
How do I add my license ?
Open regedit and browse to the highlighted key.
Export as "vmware-inc.reg" and copy the file to your C:\ws650
directory. |
|
How
to I reduce size of the directory ?
@echo off echo. pause start /wait e:\VMware-workstation-6.0.5-109488.exe echo %time% - rip ws605 del /q "R:\programs\vmware\vmware workstation\*.iso" echo %time% - rip more ws605 echo %time% - make wim ws605-ripped.wim pause exit |
|
How
do I enable loading of Workstation ? |
|
How
do I automate load of a specific version ? Lets see some examples ...
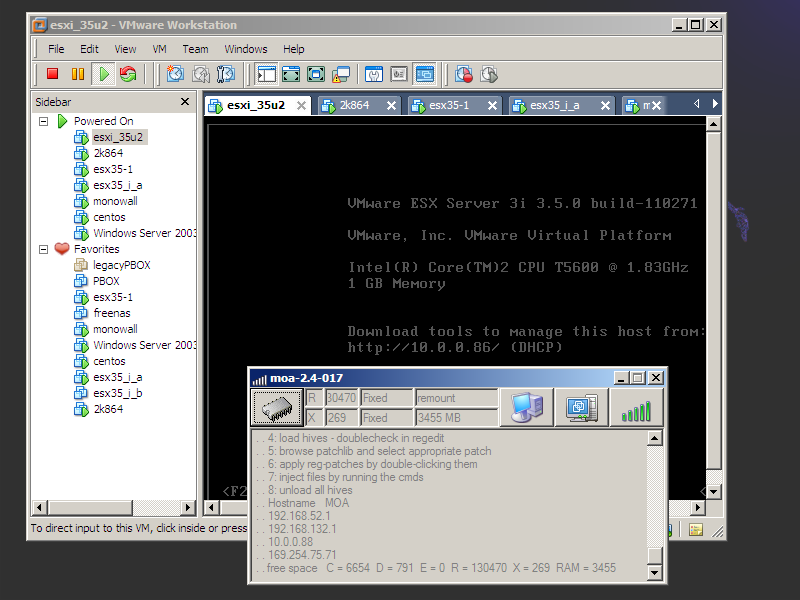
[AUTOMOUNT]
Next loads Workstation 6.0.5 from a wim-archive that you put inside the ramloading image - this improves performance and you can change CDS after boot. You need to re-run MENU > Postprocessing > create bandit-image
[BOOT] [AUTOMOUNT]
Next example loads Workstation 6.5.0 which you have in a directory
on a USB-disk that you load with cheatcode "remount" [BOOT]
if not exist R:\vm\vmware junction R:\vm\vmware C:\ws650
|
|
Learn how to pack CDs effectively
It is highly recommended to customize your MOA in CD + USB mode as
this is the fastest and easiest way.
|
|
Install some apps of your choice - understand what works and what does not work
You want to add an app of your choice ?
6. if it still doesn't work you need to dig deeper - review the installrite-capture
- watch out for servcies and drivers
|
|
Customize your desktop and start-menu
When you use MOA in CD+USB mode this is very easy : just do it. |
home moa vmx vmdk links about donate forum downloads
![]()